Connect To Amazon Aurora Database
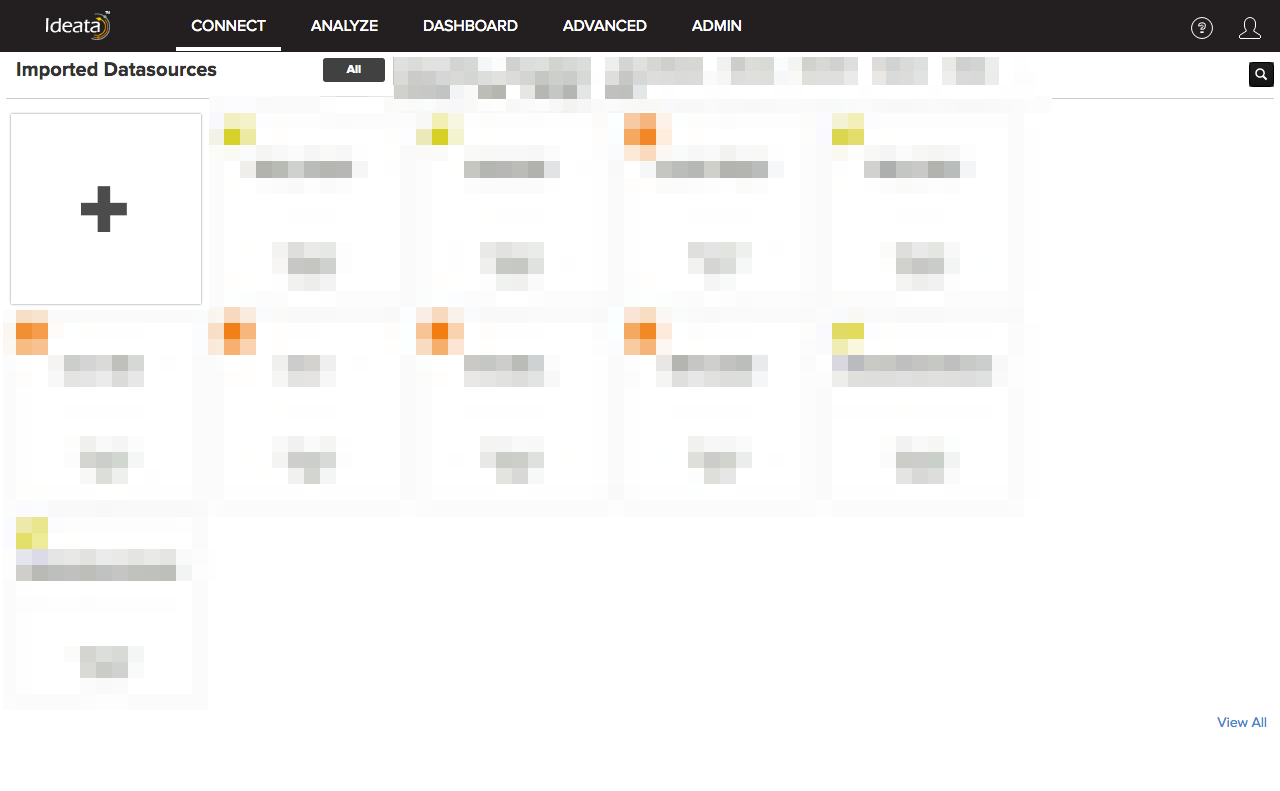
From the connect page, click on add new connection button ("+" button) to add a new datasource.
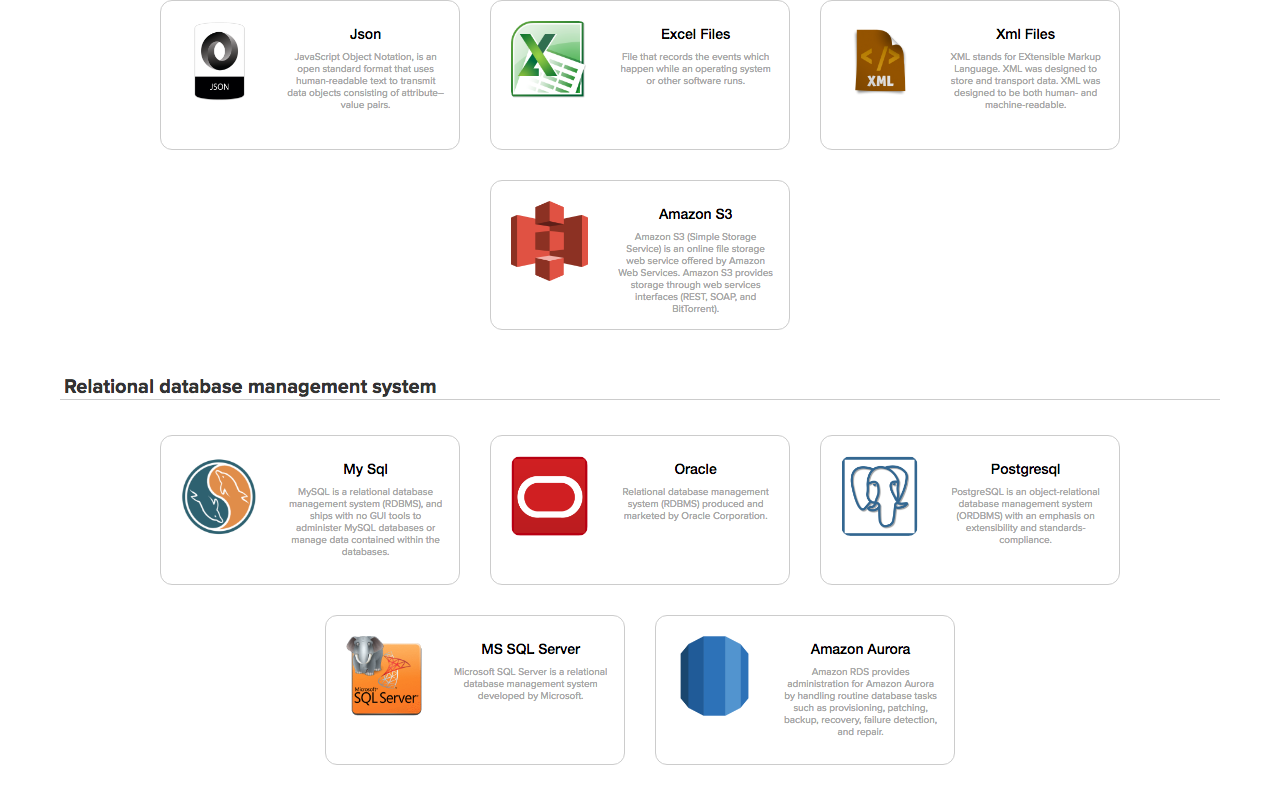
Scroll to the "Relational database management system" section and click on "Amazon Aurora" in the list of datasources
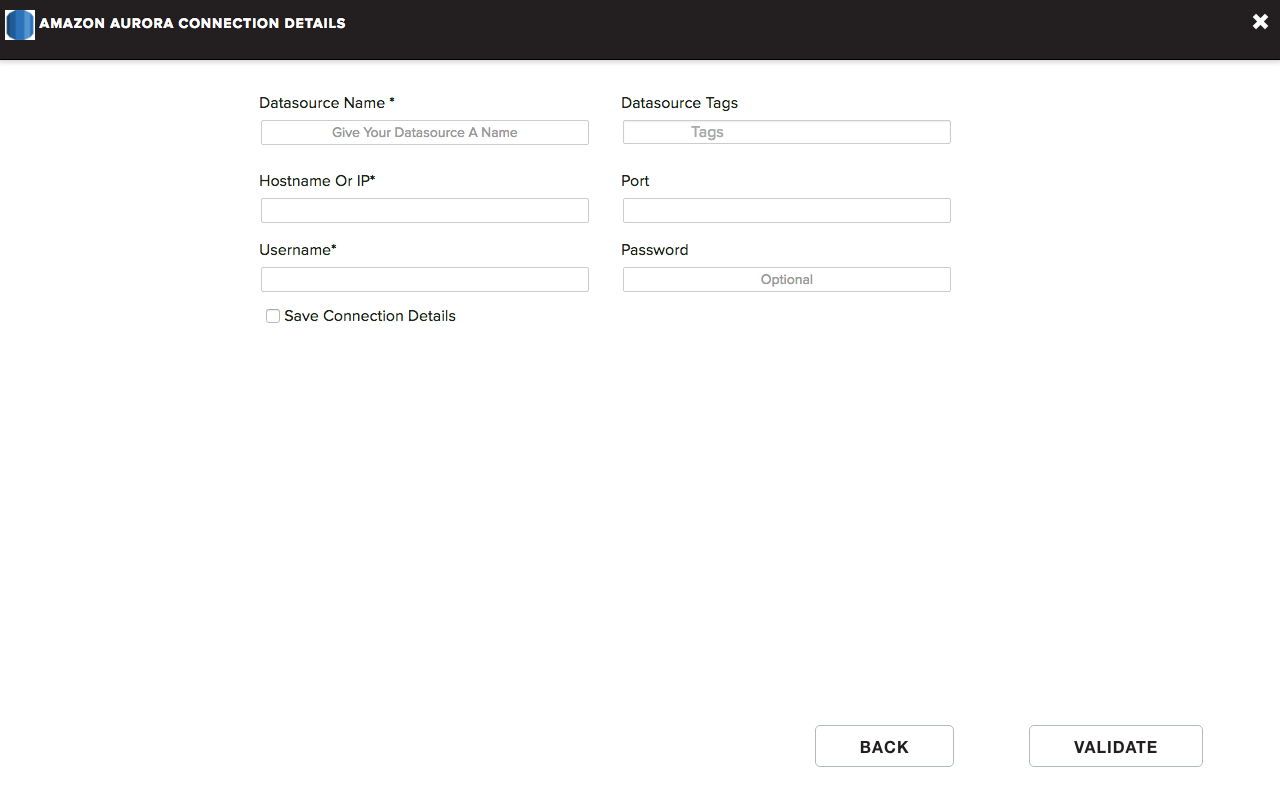
Provide required details listed below to connect to Aurora database:
- Dataset name - Name for the data source connection you want to give
- Dataset Tags - Tags you wish to associate with respective datasource
- Hostname or IP Address - Specify the host name or IP Address of the Aurora database
- Port - Specify the port on which Aurora is available. Default port is 3306
- Username/Password: Specify the username and password that you want to use to connect to Ideata
- Save Connection Details: Select checkbox to Save the connection details for future usage
Once you click on Validate, the application will validate the connection the database. After successful verification, you will be shown a list of schemas and associated tables to chose from. Once you have select a table, it will be shown in the Selected Table section.
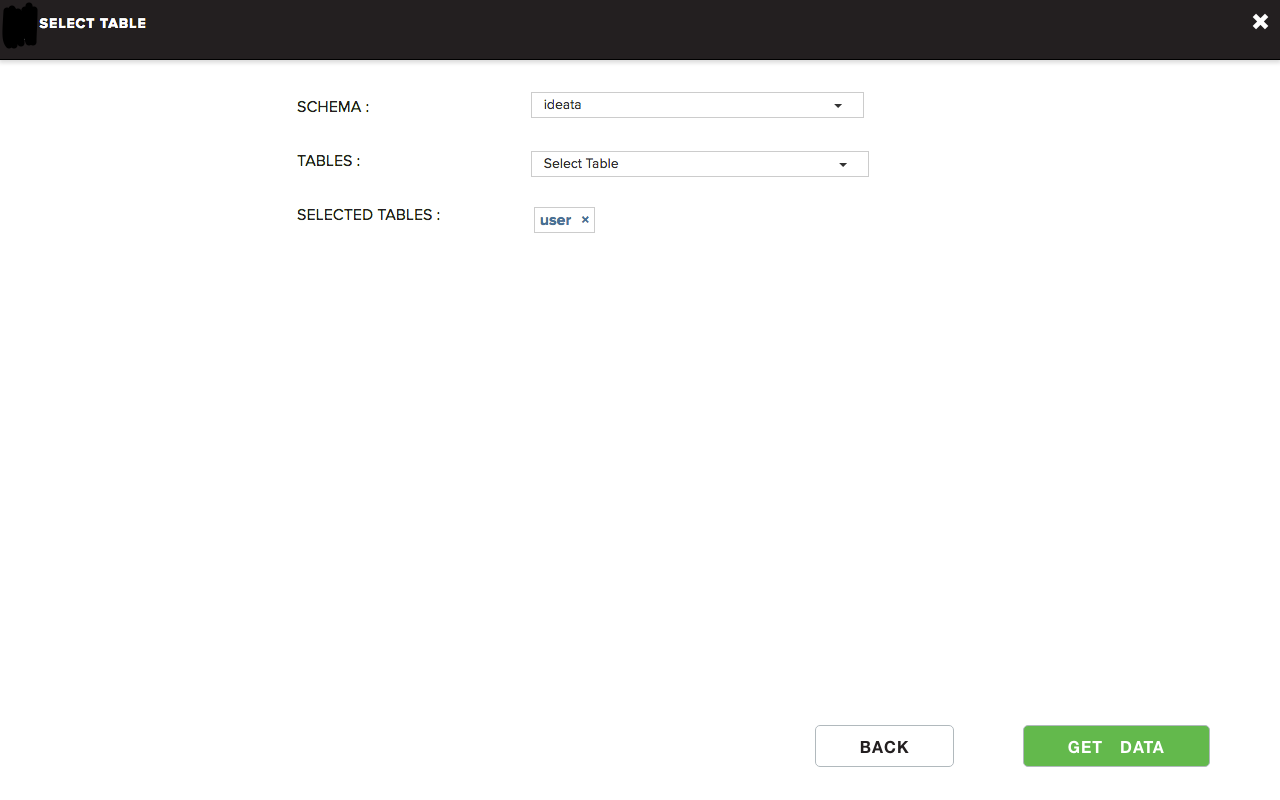
You can chose as many tables from your database to import the data from. When you select multiple table, application will ask you to provide join condition in the selected tables. Select the join type from the dropdown menu and select the join keys from both the tables that you are joining to proceed.
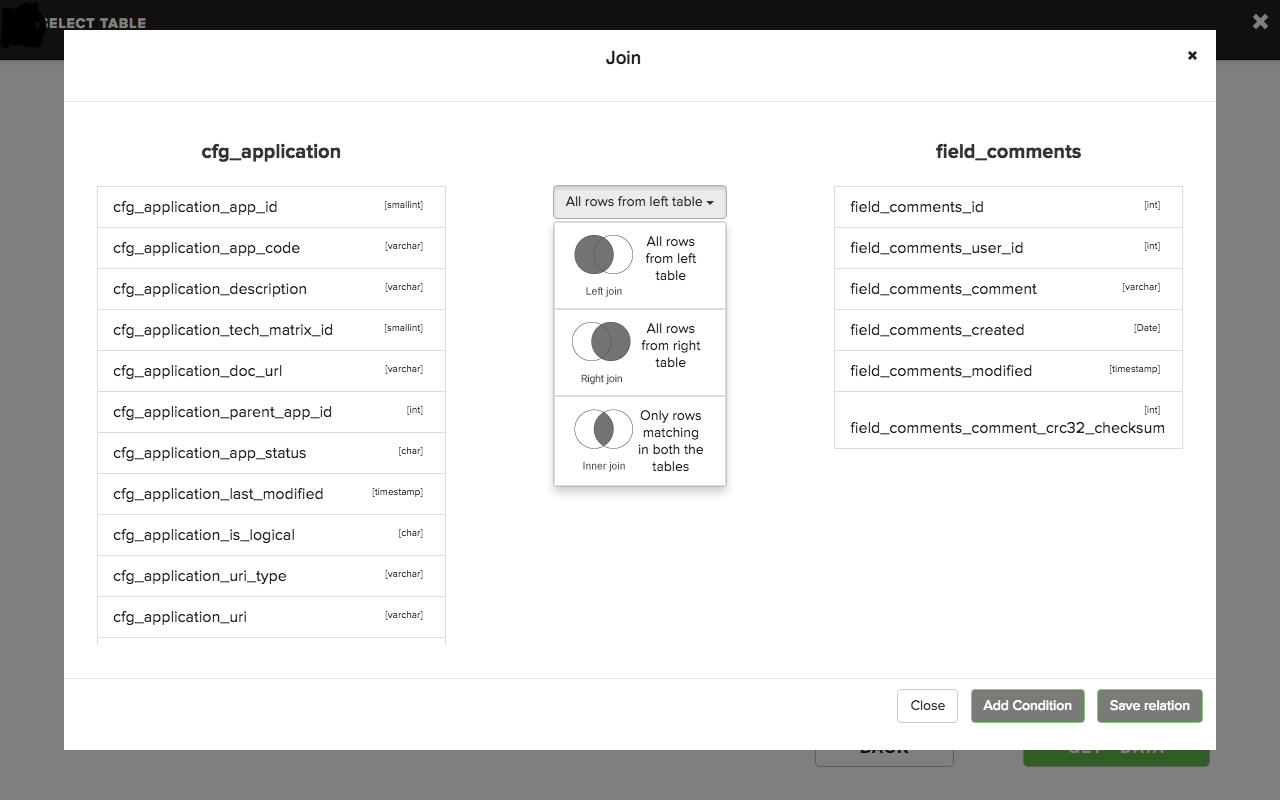
If you want to perform multi column joins, you can use the Add condition button to add multiple join conditions.
Once you are done selecting all the tables, click on Get Data button to go to preview data screen to start your data preparation.